2 June 2013

Illustrator - Pink Flamingo


Getting to grips with illustrator, pink flamingo #1


30 November 2012

DIY- Discovered the wonderfullness of pom poms !

Recently discovered how fun pom poms make my cushions look!
So simple, but so pretty :)
(envelope design)


Photography


Mexico was cloudy but so warm! 


2 April 2012

Photography

Hello !

Here's some more photos I have to share with you.
Visited the pet shop to get some fishy photos for my art project. :)


xx

30 March 2012

Photography

Hello !
Just thought I'd share this pretty picture I took yesterday,
It's such a cute little town ! I think my photography skills are improving ;)
haha.

x

20 March 2012

Sketchbook


Hello there !
Just thought I'd share with you my new project, 
It's still developing, but I'm really interested in insects right now
so heres a peek at my sketchbook ! :)


16 March 2012

DIY- Mini pieces of art

Hello! 
 & apologies for not posting recently, bussssy times at uni :)


Here's a quick tut for creating your own mini pieces of art in minutes,
AND your recycling, so it's all good!

For this you'll be using any old bits of plastic, like bags etc.


(colour doesn't matter, it's completely up to you!)


                                              The basics:
                                              - Iron
                                              - Brown baking parchment (the white one makes the plastic stick)
                                              - Padding to rest on (I'm just using an A3 sketchbook)
                                              - Scissors


Cut your plastics up into any pattern/shape you like


Then, place between the two sheets of baking parchment.
Make sure your iron is on the highest setting & doesn't have any water in it.
You only need to iron it for a few seconds,
 depending on how thick your plastics are.


Leave it cool for a few seconds between the sheets,
 then you should end up with something like this.
(I layered one strip of black between two sheets of white & trimmed it down)


Once you've got the basics down you can start getting creative :)
I've just used threads here, then layered a clear piece of plastic on top to seal them in.


Place it back between the baking parchment to seal it then your finished !


Here's how I made these two.


You can also create unusual textures to draw on.
It's so easy! Just layer up clear plastic (I used four pieces for this one)
& melt as before, you can also place threads between to seal them in.
Hope this was useful!
xx


30 June 2011

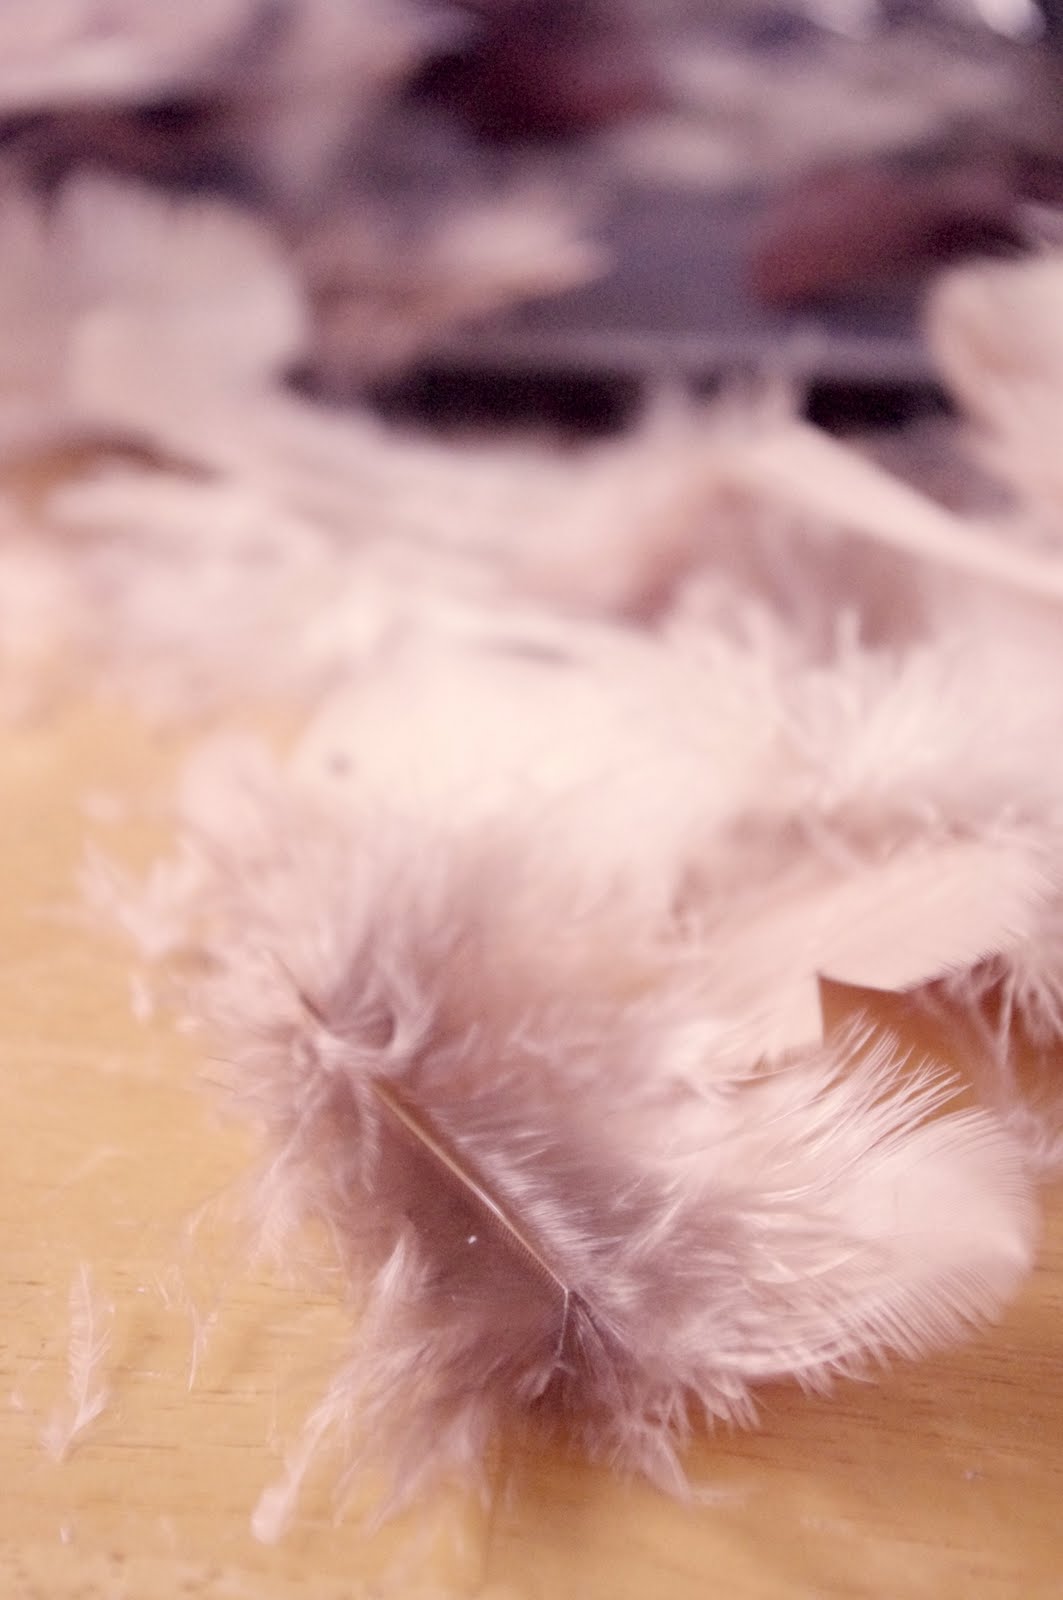
DIY- Making feather earings

Hello ! (:
OK, so I've been trying to find some nice feather earings recently.. 
and yes I'm struggling, but as I've got everything I need, 
I might aswell make my own, and show you guys my DIY!

Here's my crafty feather earings DIY tutorial.


To make these you'll need: 


Earing hooks, spiral things 
(sorry I don't know the name!) and some feathers! (:


 Step one:


Choose your feathers and snip some of the fluffy bits off the top. 


Step two:

Line your feathers together and slide them into the spiral tubey thing.
Oh and it helps if you put a little glue either onto the feathers or into the spiral.


Step three:

Now you need to attatch the earing hook, 
using a pair of pliers just twist/pull it slightly,
to make a big enough gap to attatch it to the spiral.

Once attatched simply squeeze it back to secure it nicely.(:


And now you've got your own unique feather earings!
please leave me a comment with your thoughts!

Thankyou. (:
x


29 June 2011

Things I love..

Morning!!
Thought I'd share my new favourites with you. (:


I LOVE these little lily clips, they're so sweet. (: 


Here's a few more from around the web that I though I'd share. (:
Enjoy!! 
x


28 June 2011

DIY- Bracelet scrunchie

Hello lovelies!
Sorry this post is a bit late! 
Had a bit of a busy day so this is only a quick DIY. (:


I was in a total rush and forgot to take photos as I went along, sorry!!


I know the ends aren't as neat as they should be..

SO here's a step by step without photo's (:

To make your super sweet scrunchie you'll need: 
  • Some fabric.
  • Flat elastic, mine was between 1 and 2cm.
  • Sewing machine. (although not essential)
  • Additional embelishments.

Step one: 

Cut your elastic and fabric. 
Measure the elastic to comfortably wrap around your wrist twice. 
The fabric should measure between 1.5 and 2x the length of elastic.
(depending on how scrunchie you want it :)


Step two:

Stitch together one end of elastic to the other end of fabric.
Then fold the fabric, (right sides together) 
and stitch all the way down.

Make sure the elastic is inside whilst stitching,
it'll make it easier to pull right side out.


TOP TIP: Ironing the fold will make it ten times easier to stitch!


Step three:
 
Pull through the elastic, and turn the fabric right side out.
If you have a safty pin lying around use it to pull the elastic through.


Final step: 

Scrunch up the fabric so that the unstitched ends of elastic and fabric lie flat together,
stitch those together.
Then lay the two ends on top of each and re-stitch.


Additional step:
If you want to add buttons or beads
you can dot them around in your design, or just clip on a broach.

I added a little lilly clip to match the black and white polka dots. 


Hope this wasn't too confusing! 

I know its not great without photos, 
If i get chance I'll update with photo step-by-steps!!

Have fun! (:
x


27 June 2011

DIY- Stuffed hearts

Hello!
Here's a lovely little fabric heart tut.
(I have like loads of these hanging around the house) haha !


24 June 2011

DIY- Feather hair piece

Hello lovelies!
I have a new DIY tutorial, for a feather hair piece. (:

I love all the feathery things around at the moment, 
but I wanted something a little different, soo I came up with this easy three-step tutorial.


20 June 2011

Photography

 Something sweet for a monday morning!


17 June 2011

DIY- Pencil pot

Do you have old boring pencil pots?
Maybe you just us an old mug?
If this is you, then you need my super fast, fun and easy DIY tutorial!

This is how it should turn out..


16 June 2011

Things I love..

IM IN LOVE WITH MICROWAVABLE POPCORN!!
 
It's way easier than messing about with a saucepan and stuff, 
YAY for microwaveable popcorn. (:

I love the pink sweet popcorn, it's totally cute!

I got mine from home bargains,
if your from the UK you probably have one near you..

I'm also gonna be posting a DIY to make your own microwavable sweet popcorn, 
so keep an eye out! it should be here next week. (:

13 June 2011

Things I love..

I love Blue, it's soo pretty definetly my favourite colour. (:

9 June 2011

DIY- Decorating pegs (and magnets)

This is one of my fav DIY's, the first time I tried it I followed Ez's instructions over on Creature Comforts. 
So if mine are too confusing you know where to go! 
These ones above  I made into magnets, 
or you can just use them for regualr use, 
like the ones below(: 

8 June 2011

DIY- Making pom poms!

I found an easier way to make pom poms!
If you visit eskimimiknits she'll show you exactly how its done. 
Let's make mini pom poms! (:


Related Posts Plugin for WordPress, Blogger...